Deploying Jokebox with GitHub and Render
Overview
This tutorial walks you through deploying Jokebox to Render so that it runs on a public URL and redeploys itself whenever you merge a change that passes CI.
To work through it you will need to be connected to the internet, comfortable
running commands in a terminal, comfortable with git, and able to read
JavaScript and Node.
Prelude: development is not deployment
It is worth separating two things that beginners tend to run together.
Development is designing, programming, testing, and debugging - almost always on your own machine, where you control everything and you are the only user.
Deployment is publishing the application so other people can reach it: installing dependencies on a machine you do not own, starting the process, pointing a URL at it, and knowing whether it actually came up. On a large system this is a specialism of its own. Ours is deliberately small, but the shape is the same.
The gap between the two is where most deployment bugs live. Your laptop has your
files, your Node version, and your environment variables; the server has none of
those unless something put them there. That is why this project keeps its
dependencies pinned in a lockfile, its start command in a file rather than in
someone's memory, and everything environment-dependent in a single config.js.
Step 1: Get your repository
Your Jokebox repository comes from UCF Code Classroom, the same app you used for Assignments 1 and 2. You are already enrolled, so there is no new link to accept.
Sign in, open Assignment 3, and follow through to your repository. It already
belongs to the UCF-CEN-5016 organization and you already have write access, so
there is nothing to accept and nobody to wait for.
Work only in this repository
We grade the last commit made before the deadline. If you commit after the deadline, that is the commit we grade and the assignment is late. See the assignment page for the full submission requirements.
Step 2: Run it locally first
Deploying something you have never run is a bad way to find out it does not work. Get it green locally first.
Install Node.js 24 or newer and Git if you do not have them, then:
git clone https://github.com/UCF-CEN-5016/<your-assignment-3-repo>.git
cd <your-assignment-3-repo>
npm ci
npm run dev
Jokebox will be at http://localhost:3000. Check the UI loads, then check the API directly:
Run the checks CI will run:
GitHub authentication
GitHub does not accept your account password on the command line. If
git clone fails with Password authentication is not supported, you need
either an SSH key or a token - see the
Assignment 1 instructions, which cover
both routes. On Windows, set this up inside WSL if that is where you are
working.
Step 3: Create a Render account
Sign up for a free account at render.com, using Sign up with GitHub. Signing up through GitHub is what lets Render see your repositories later.
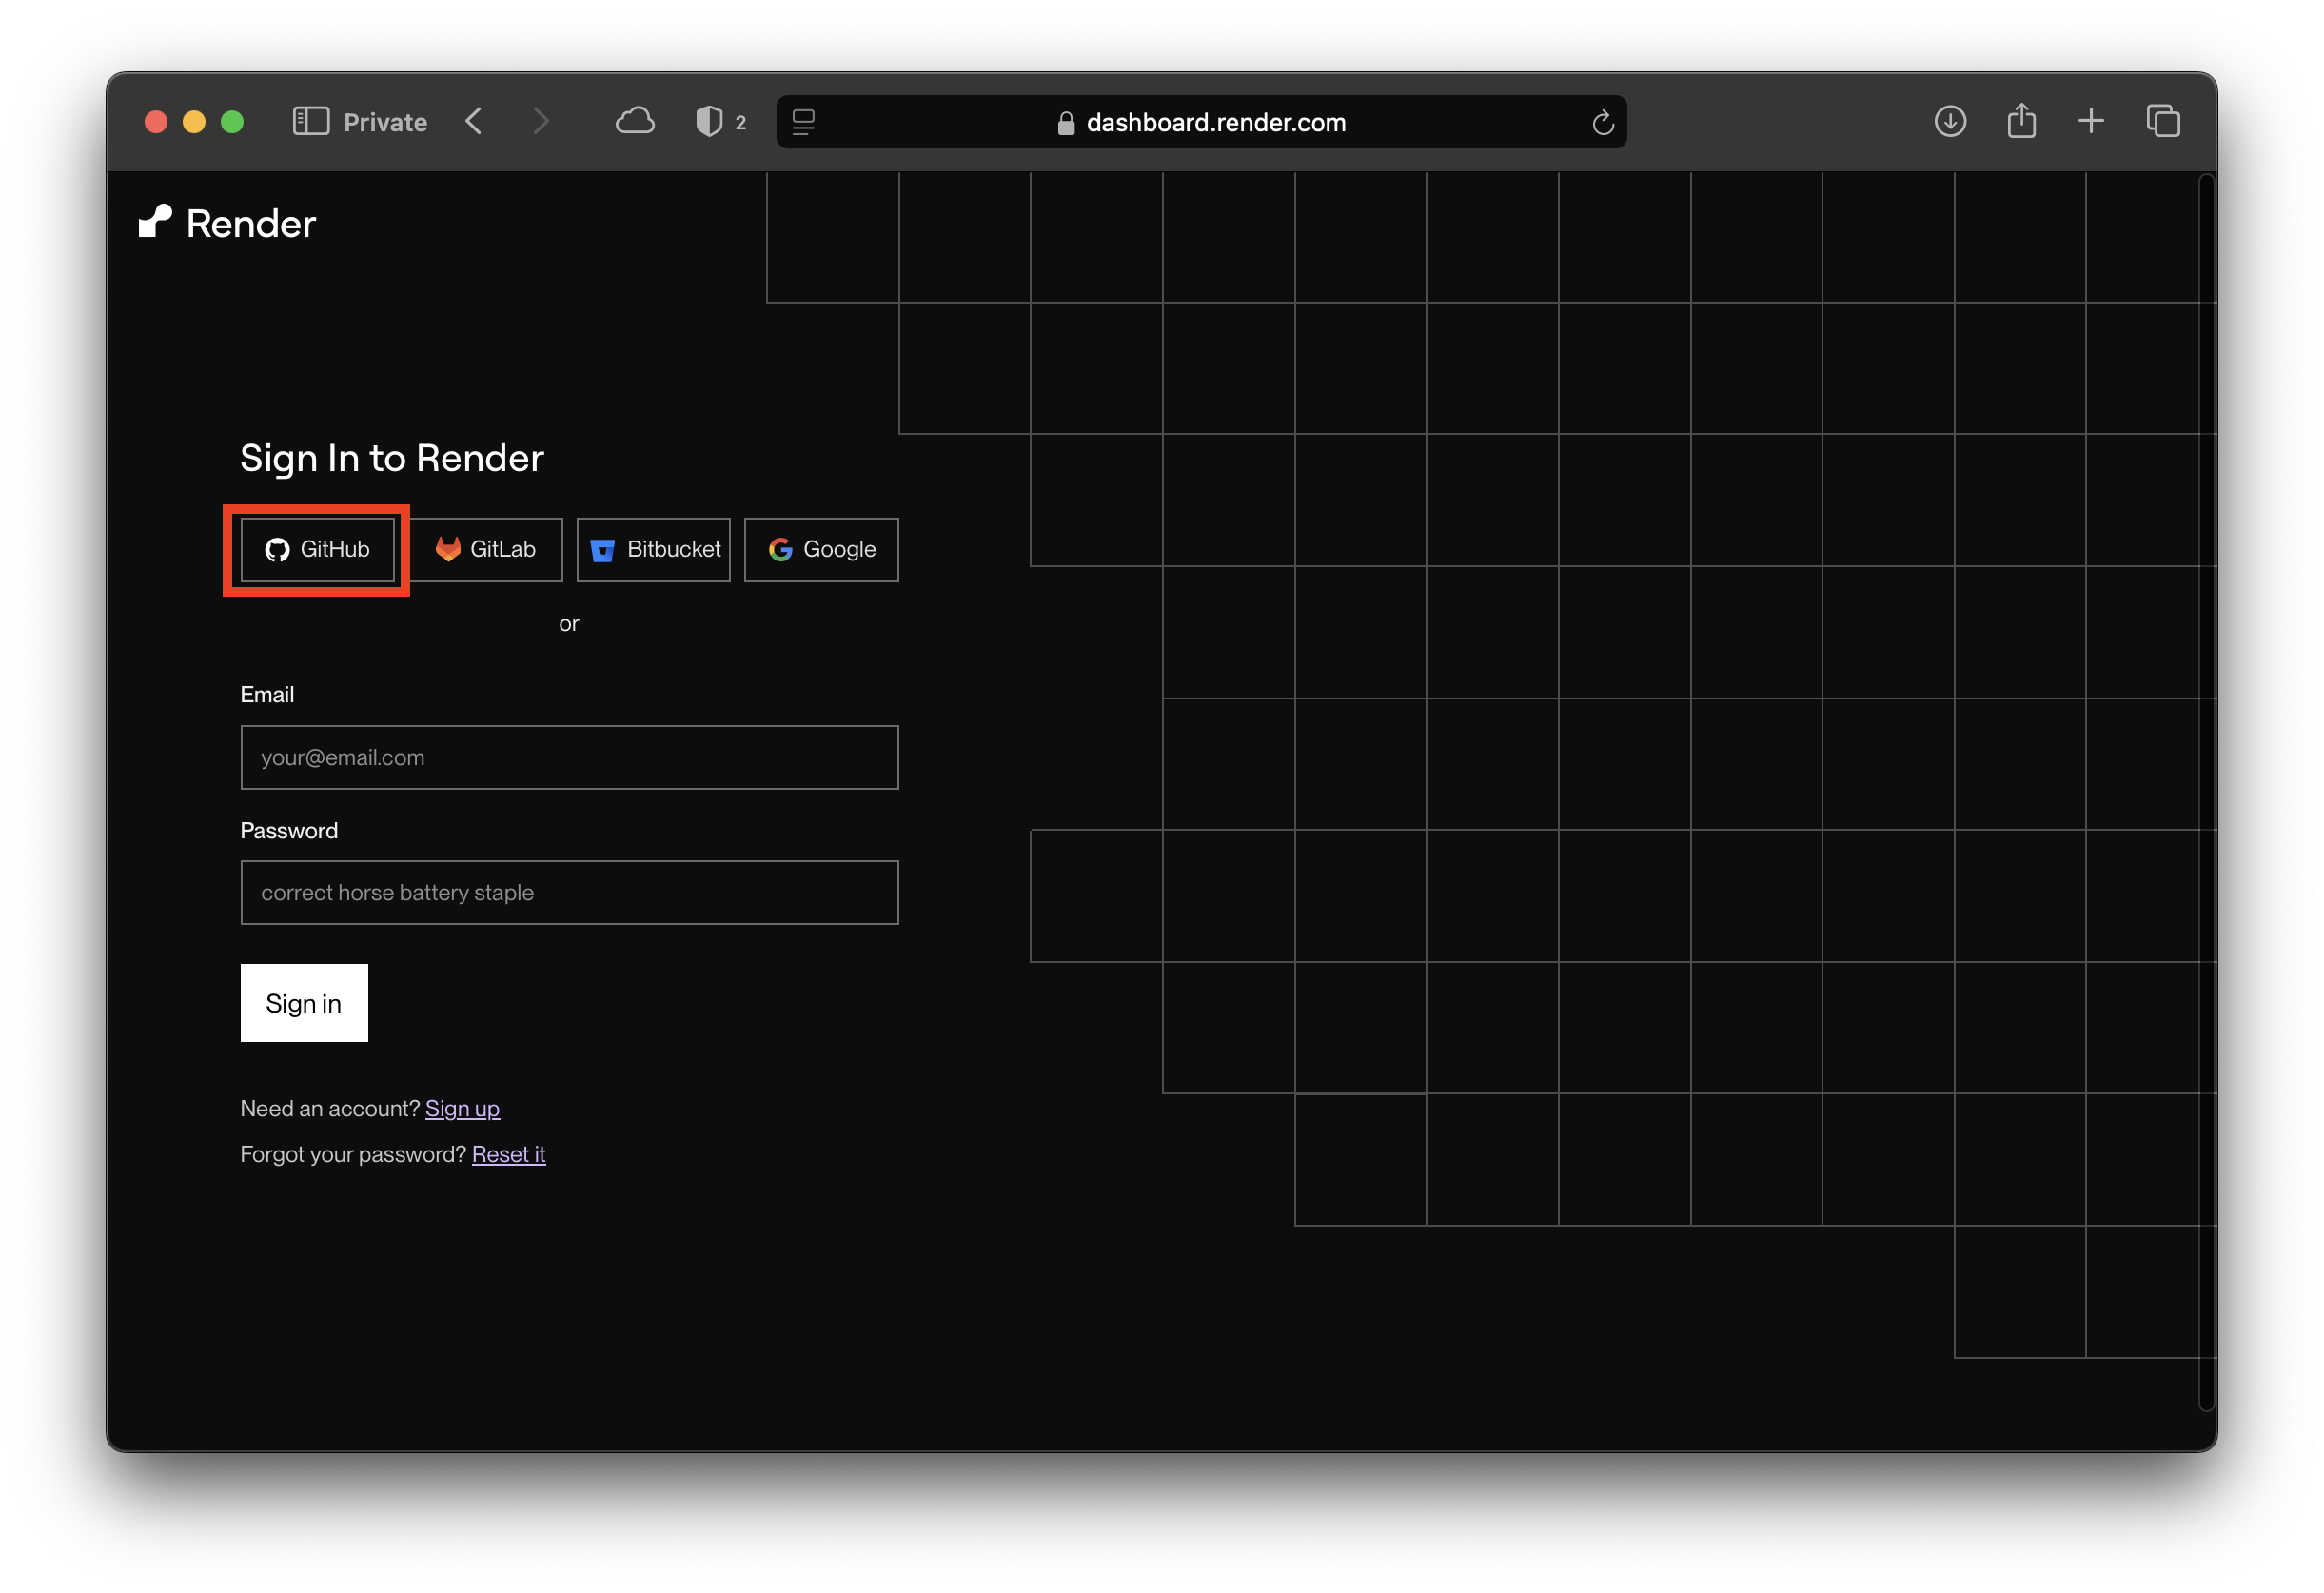
When Render asks which repositories it may access, grant it access to your
Assignment 3 repository in the UCF-CEN-5016 organization.
If the organization's repositories do not appear
Render needs permission for the organization, not just your personal
account. On the GitHub authorization screen, look for UCF-CEN-5016 and
grant access. If it is not offered, post on Ed Discussions.
Step 4: Deploy from the Blueprint
Your repository contains a file called render.yaml:
services:
  - type: web
    name: jokebox
    runtime: node
    plan: free
    buildCommand: npm ci
    startCommand: npm start
    healthCheckPath: /healthz
    envVars:
      - key: NODE_ENV
        value: production
This is the deployment, written down. Everything you would otherwise set by clicking through a dashboard - the runtime, how to build it, how to start it, which path to health check, what environment to run in - lives in a file that is version controlled, shows up in diffs, and can be reviewed in a pull request like any other code. Render calls this a Blueprint; the general idea is infrastructure as code, and it is the reason a new team member can recreate your environment from the repository instead of from a conversation.
First, give your service a unique name
Your service's public URL is https://<service-name>.onrender.com, and that
name has to be unique. In the Blueprint flow the name comes from
render.yaml, not from a form in the dashboard - so if everyone deploys
the file as shipped, everyone is fighting over jokebox.
Before you deploy, edit render.yaml and change the name: field to
<firstname>-<lastname>-jokebox. For Dr. Moran that would be
kevin-moran-jokebox. Then commit and push:
Editing the file rather than a form is the whole point of infrastructure as code: the name of your deployment is now recorded in the repository, where anyone can see it.
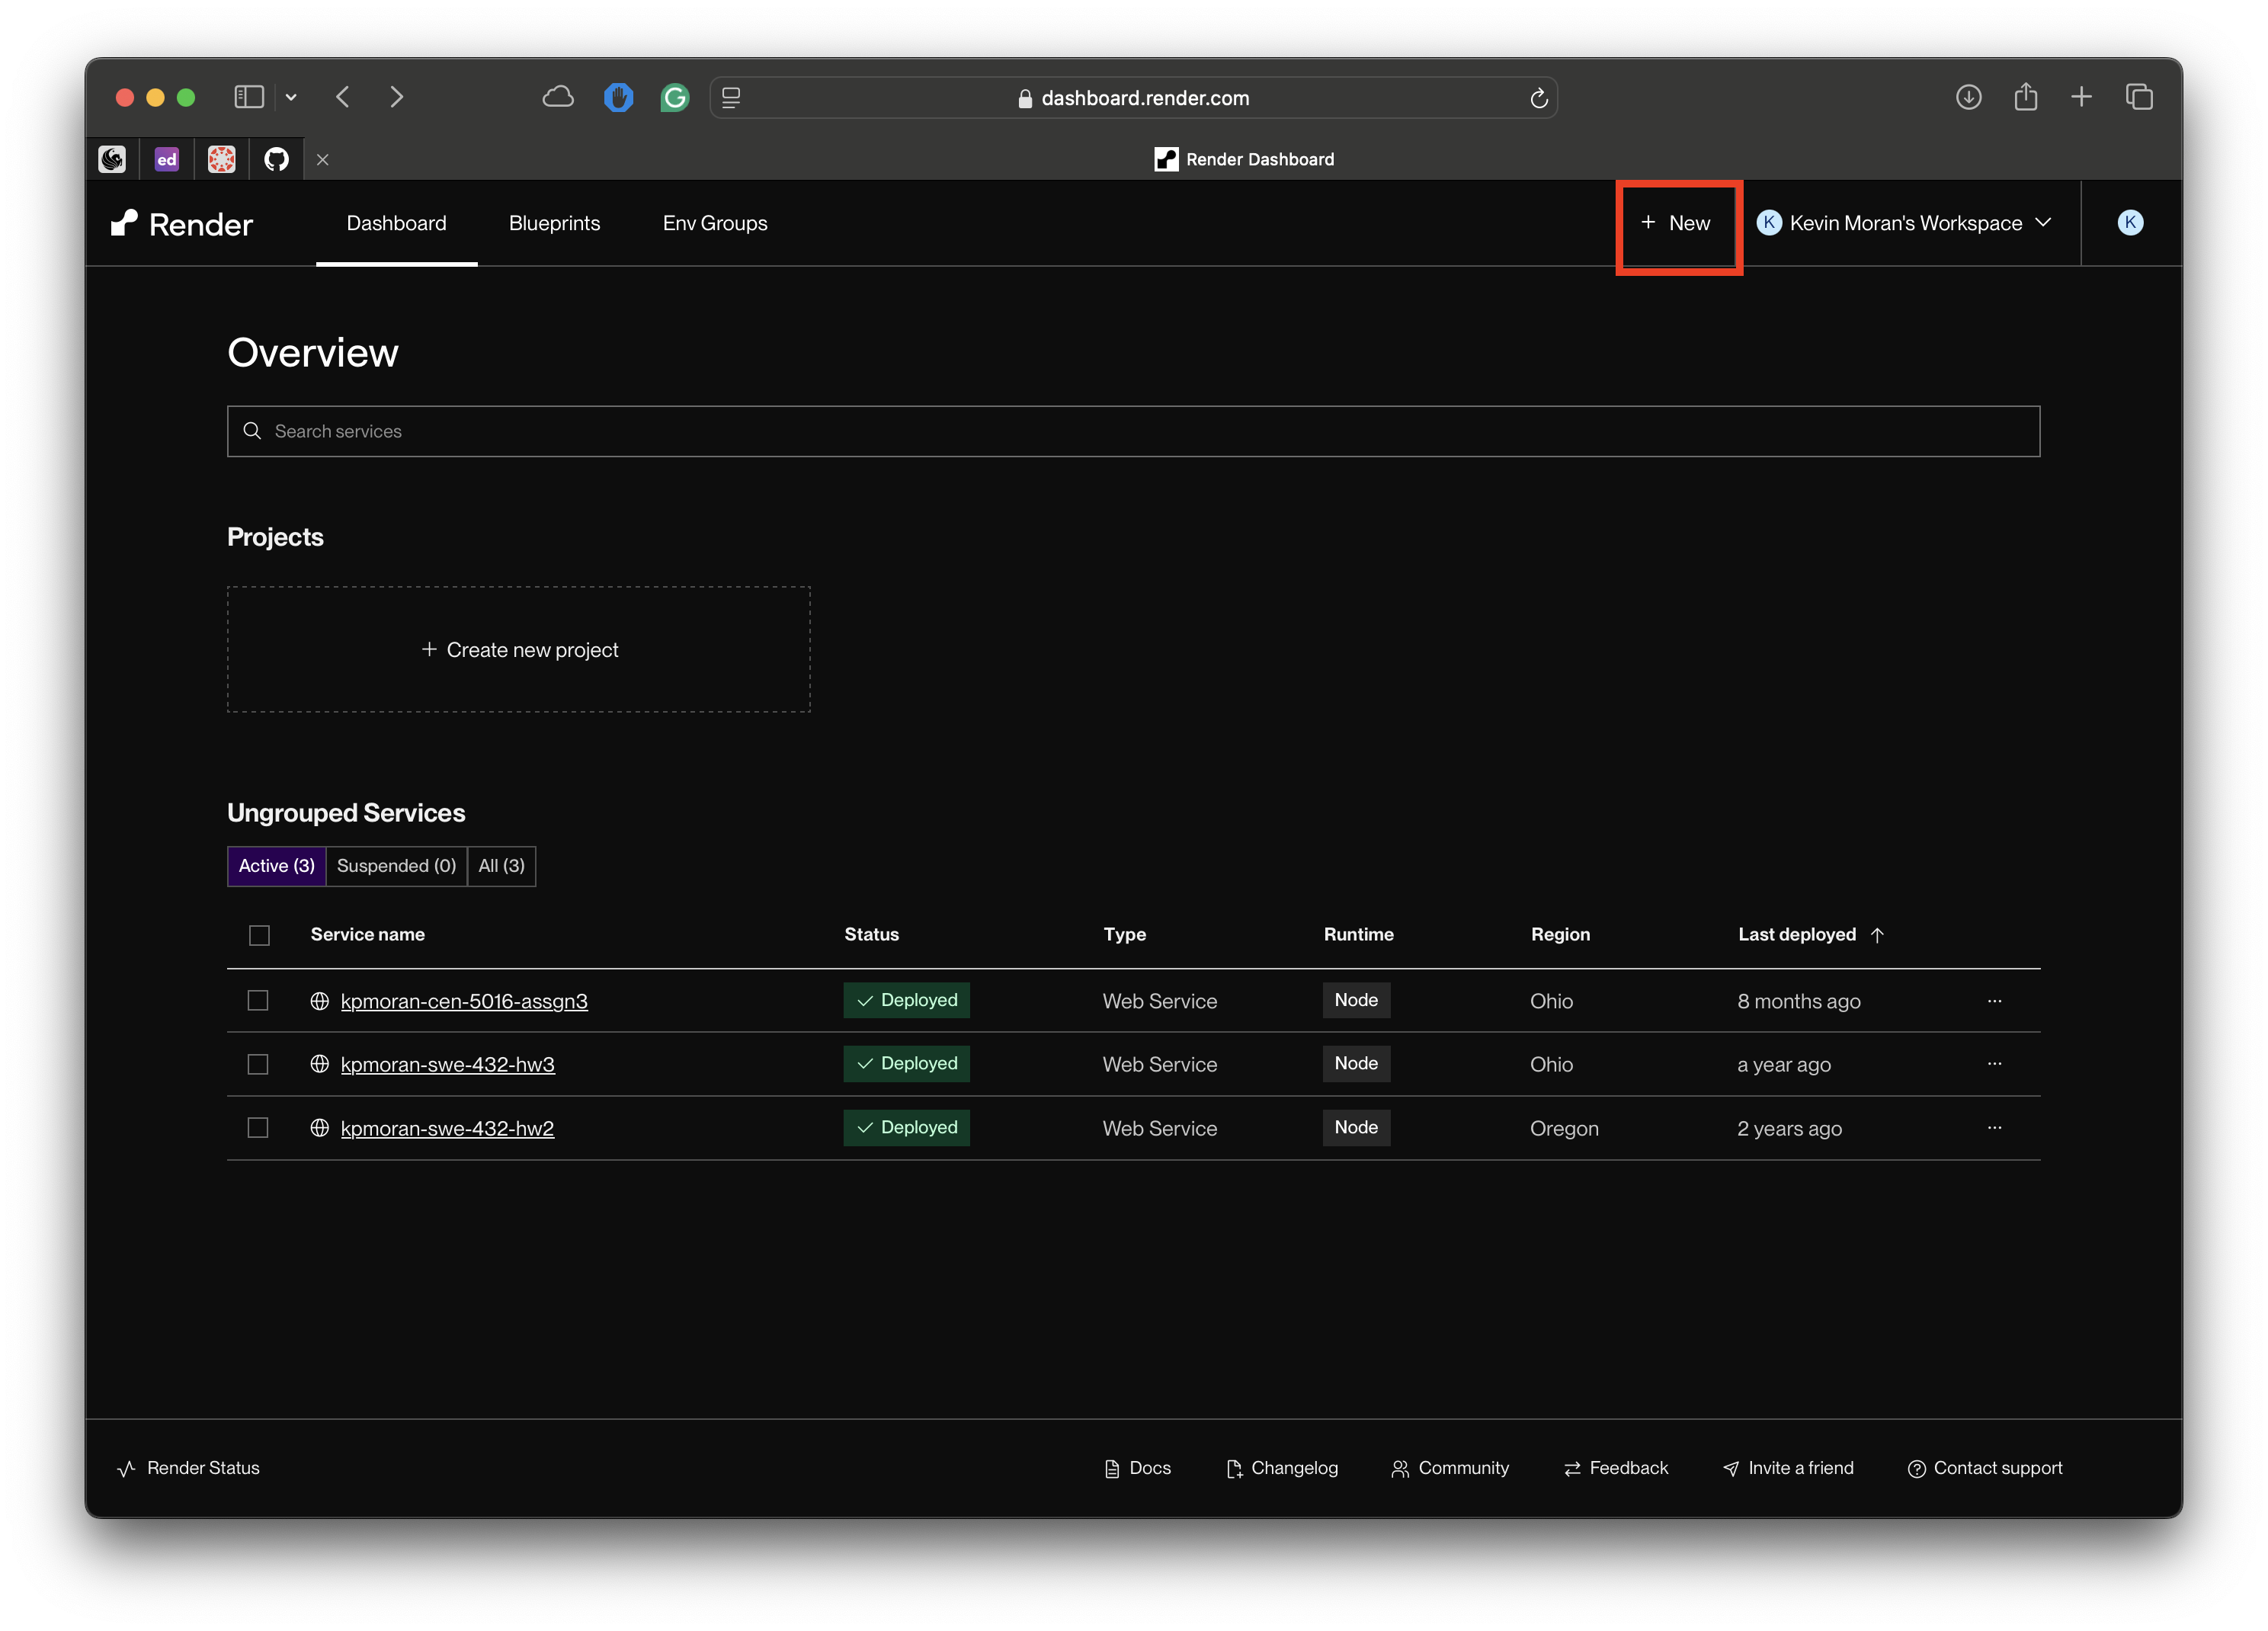
Now deploy it. From the Render dashboard, click New (top right) and choose Blueprint.
Render lists the repositories it can see. Click Connect next to your Assignment 3 repository.
In the form that follows, give the Blueprint a name and pick the branch to
track (main). Leave Blueprint Path alone - it defaults to render.yaml at
the repository root, which is where yours is.
Render then shows you the changes it is about to apply: the services it will create, from your file. Read that list - it should contain one web service with the name you just set. If your YAML has an error, this screen shows the error instead. Click Deploy Blueprint.
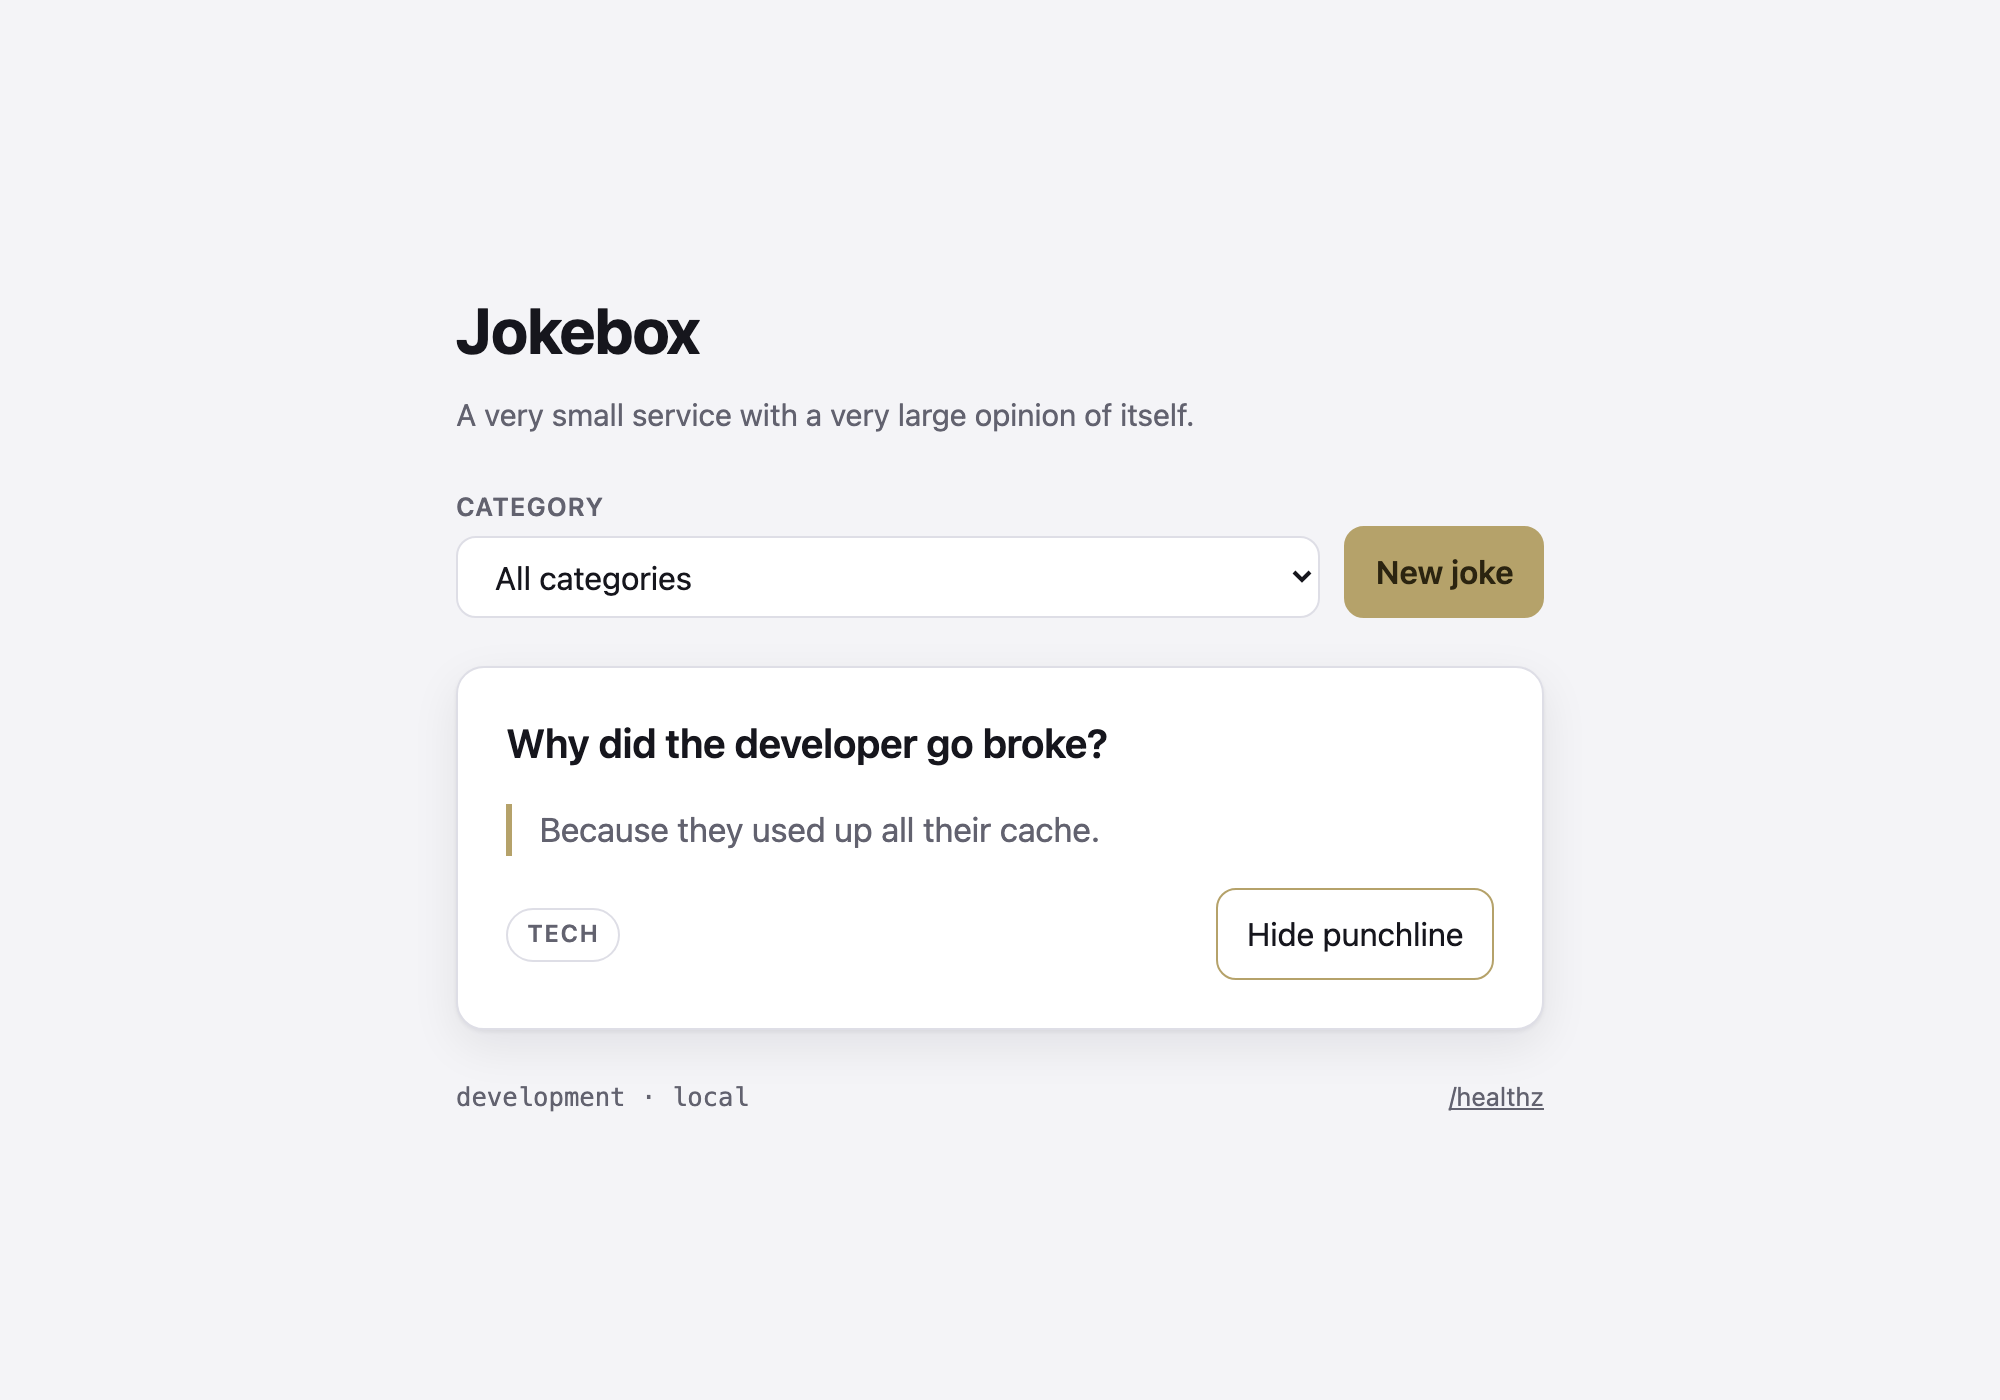
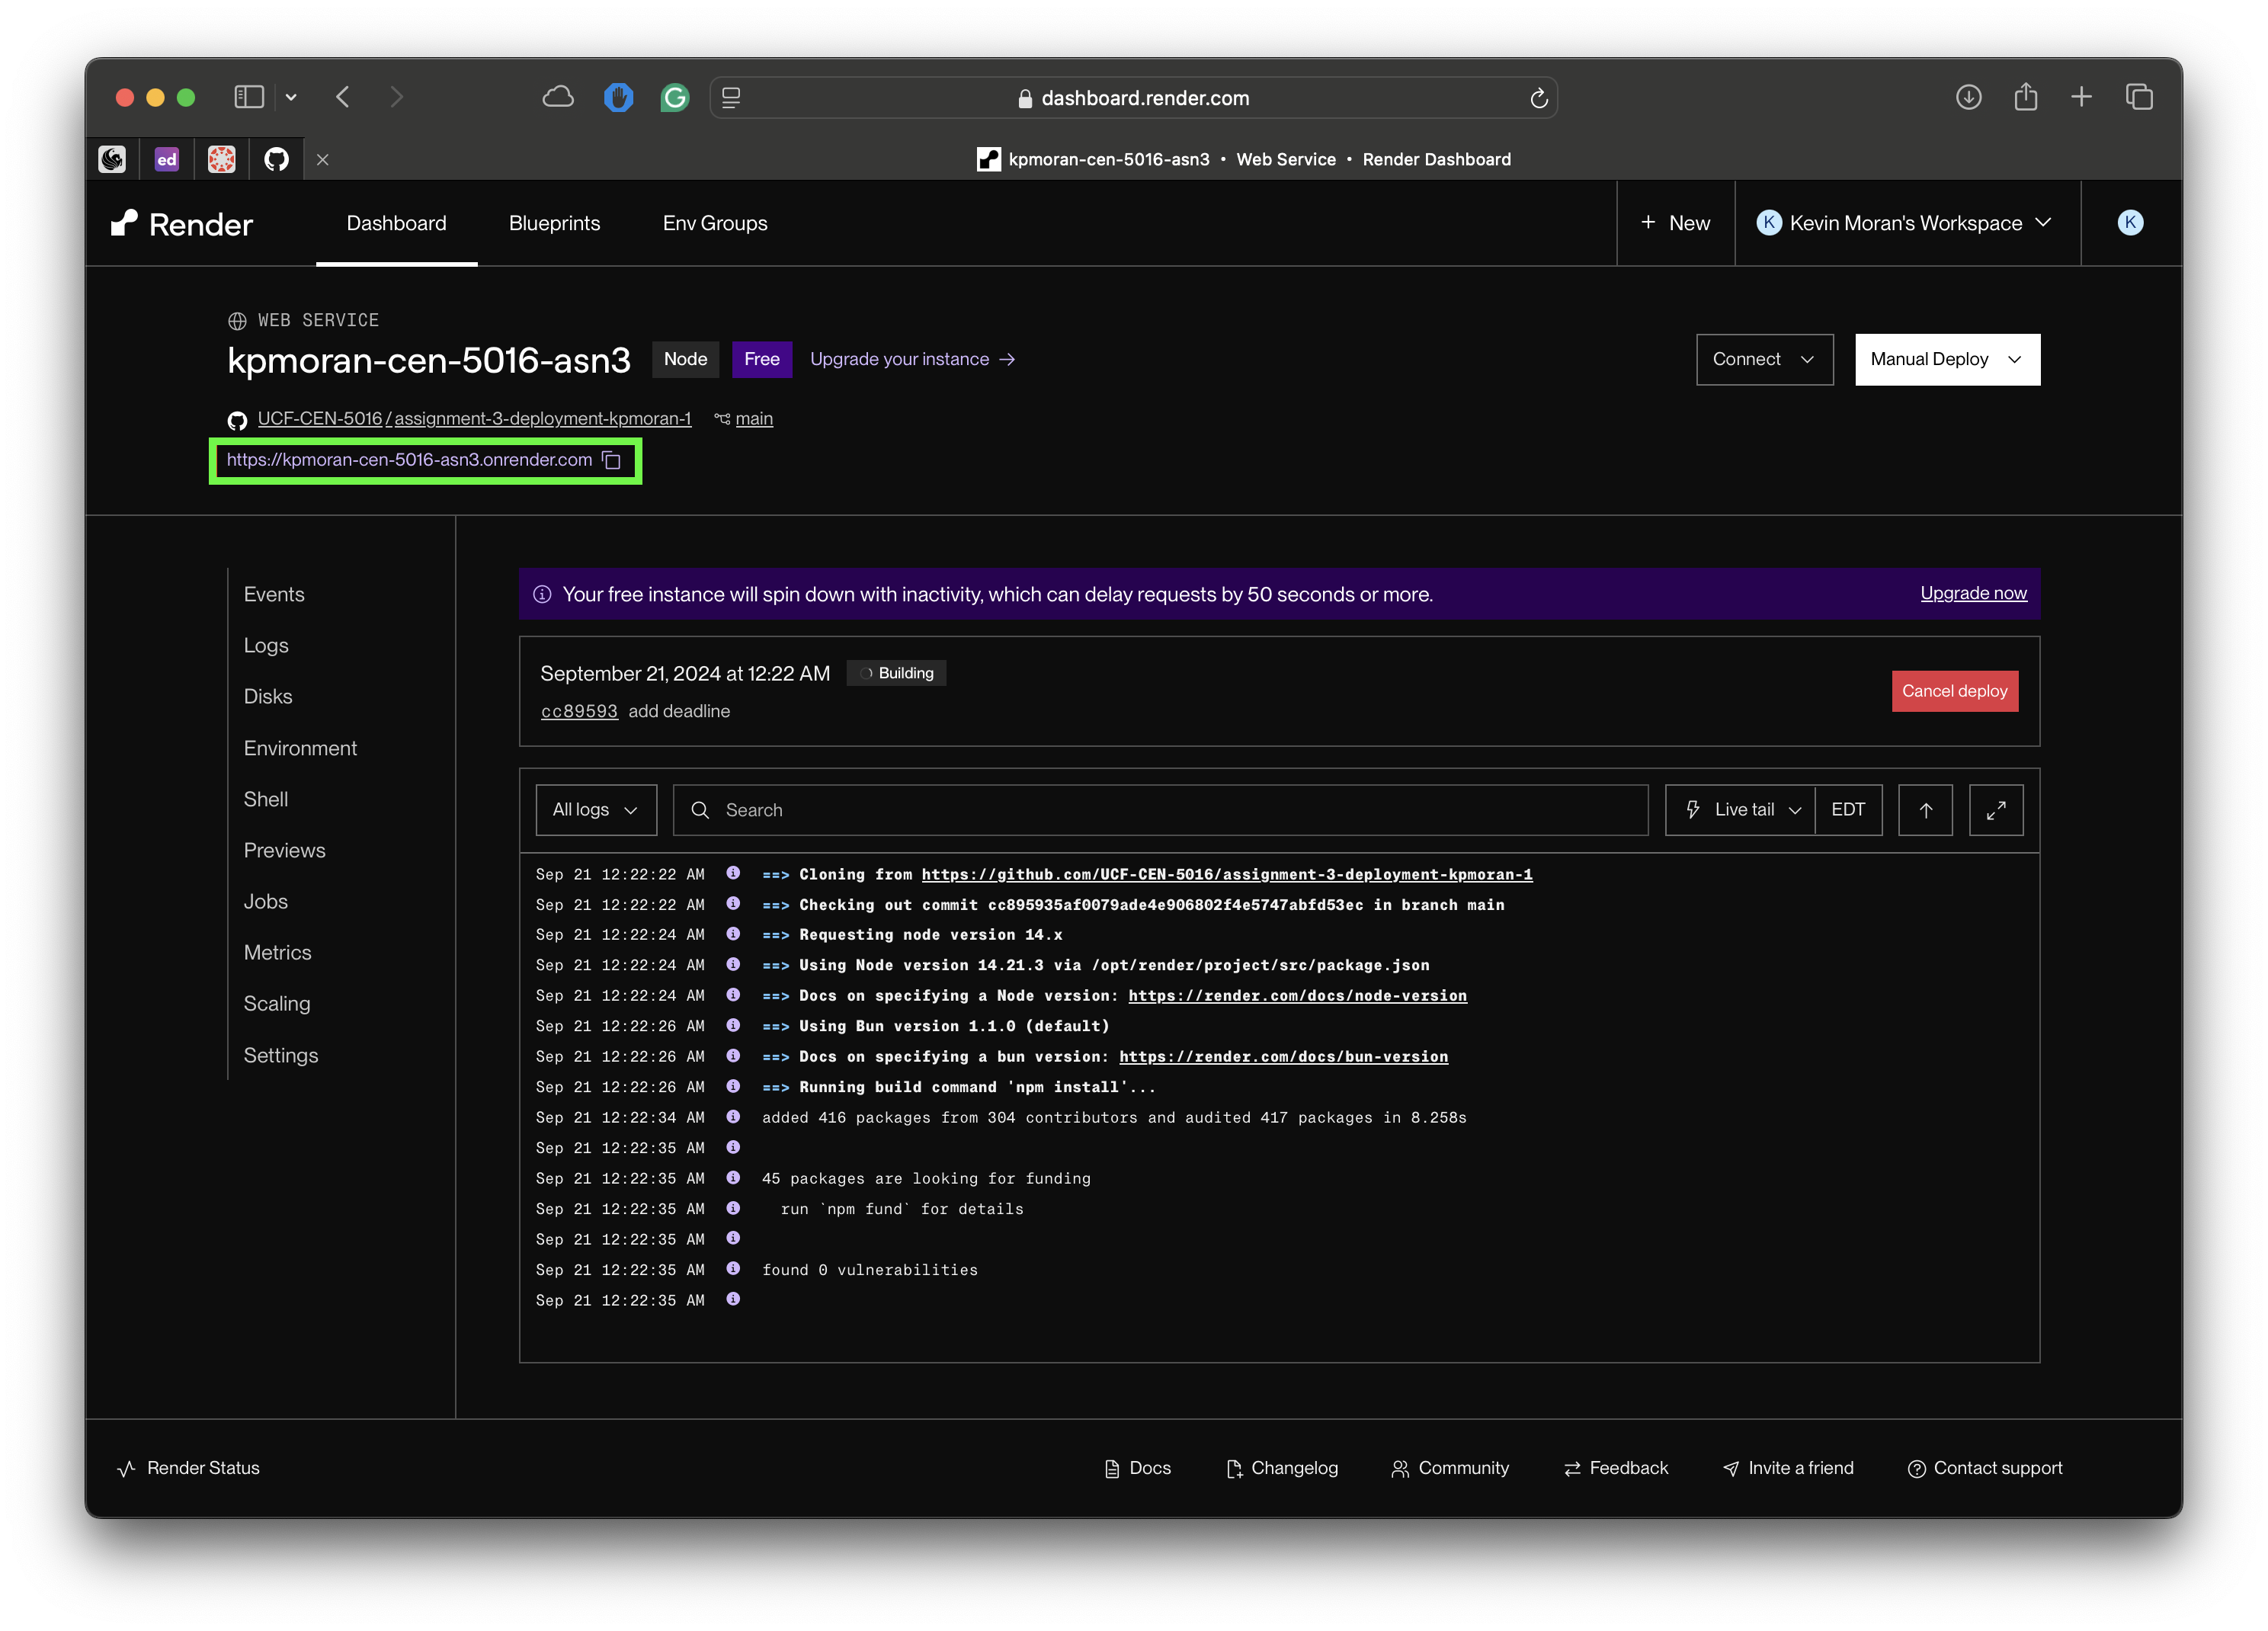
The first build takes a few minutes and you can watch it in the log pane. When it finishes, open your URL - you should see Jokebox.
Fallback: creating the service by hand
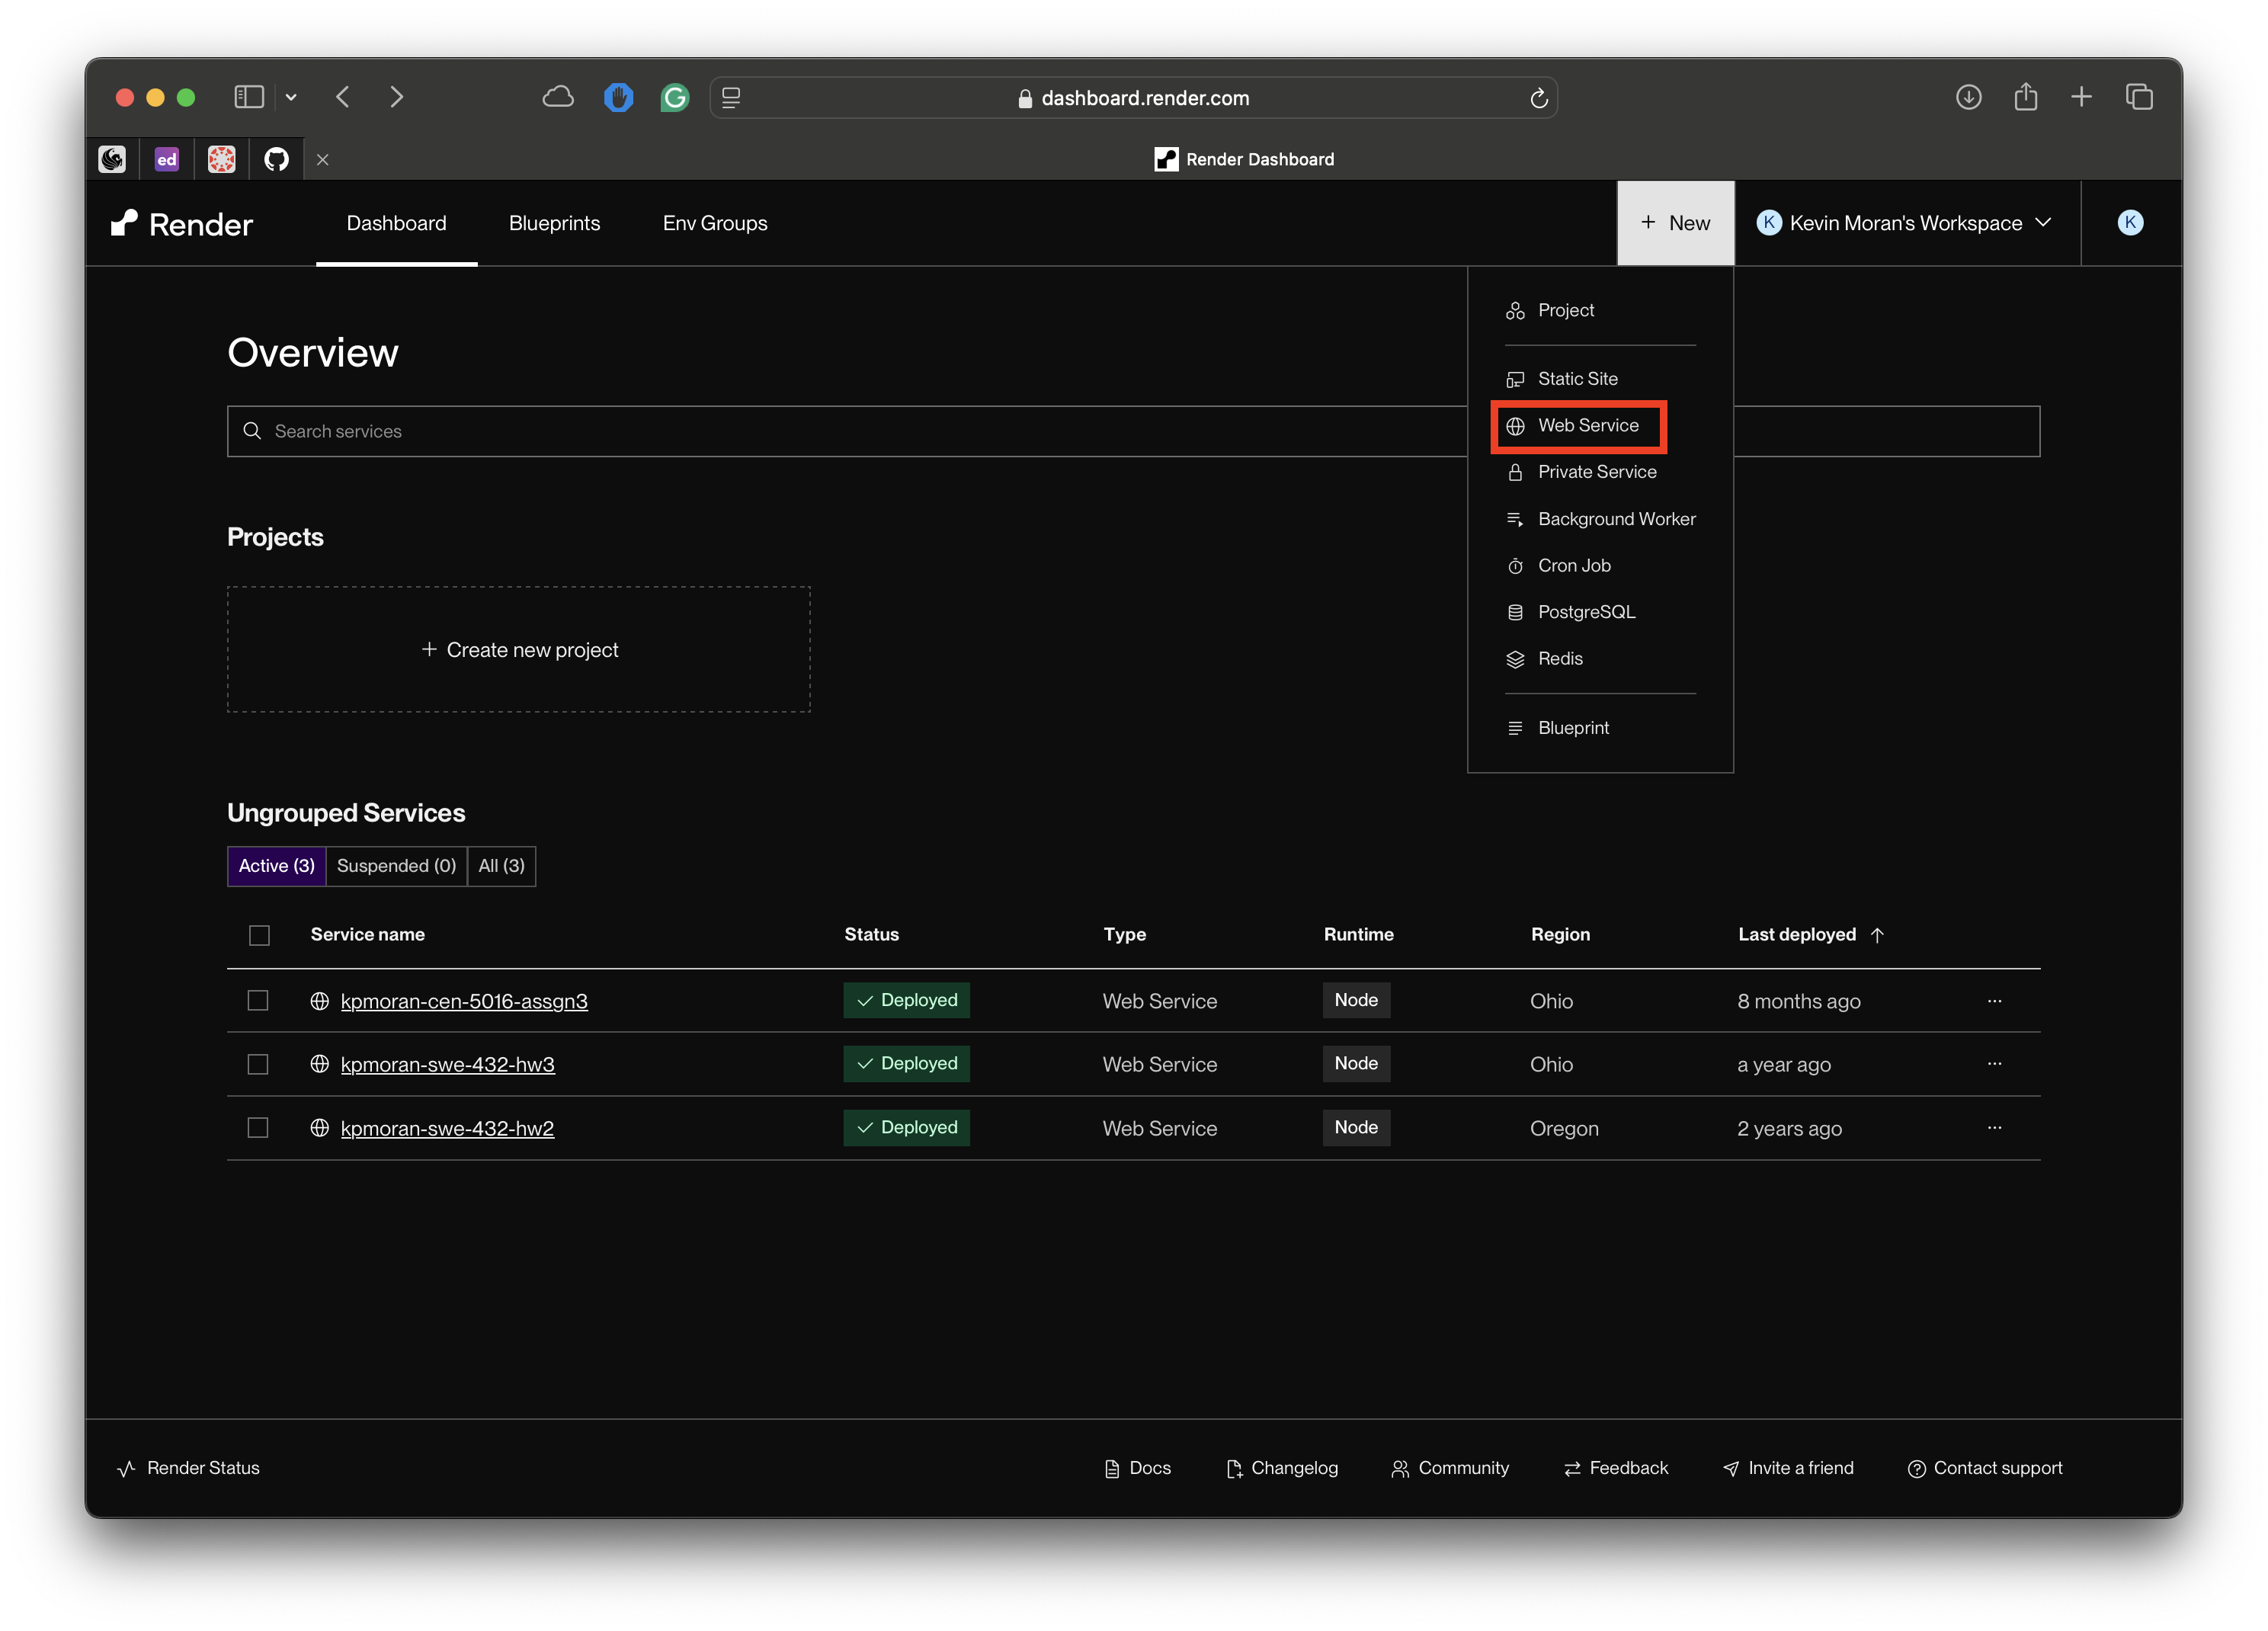
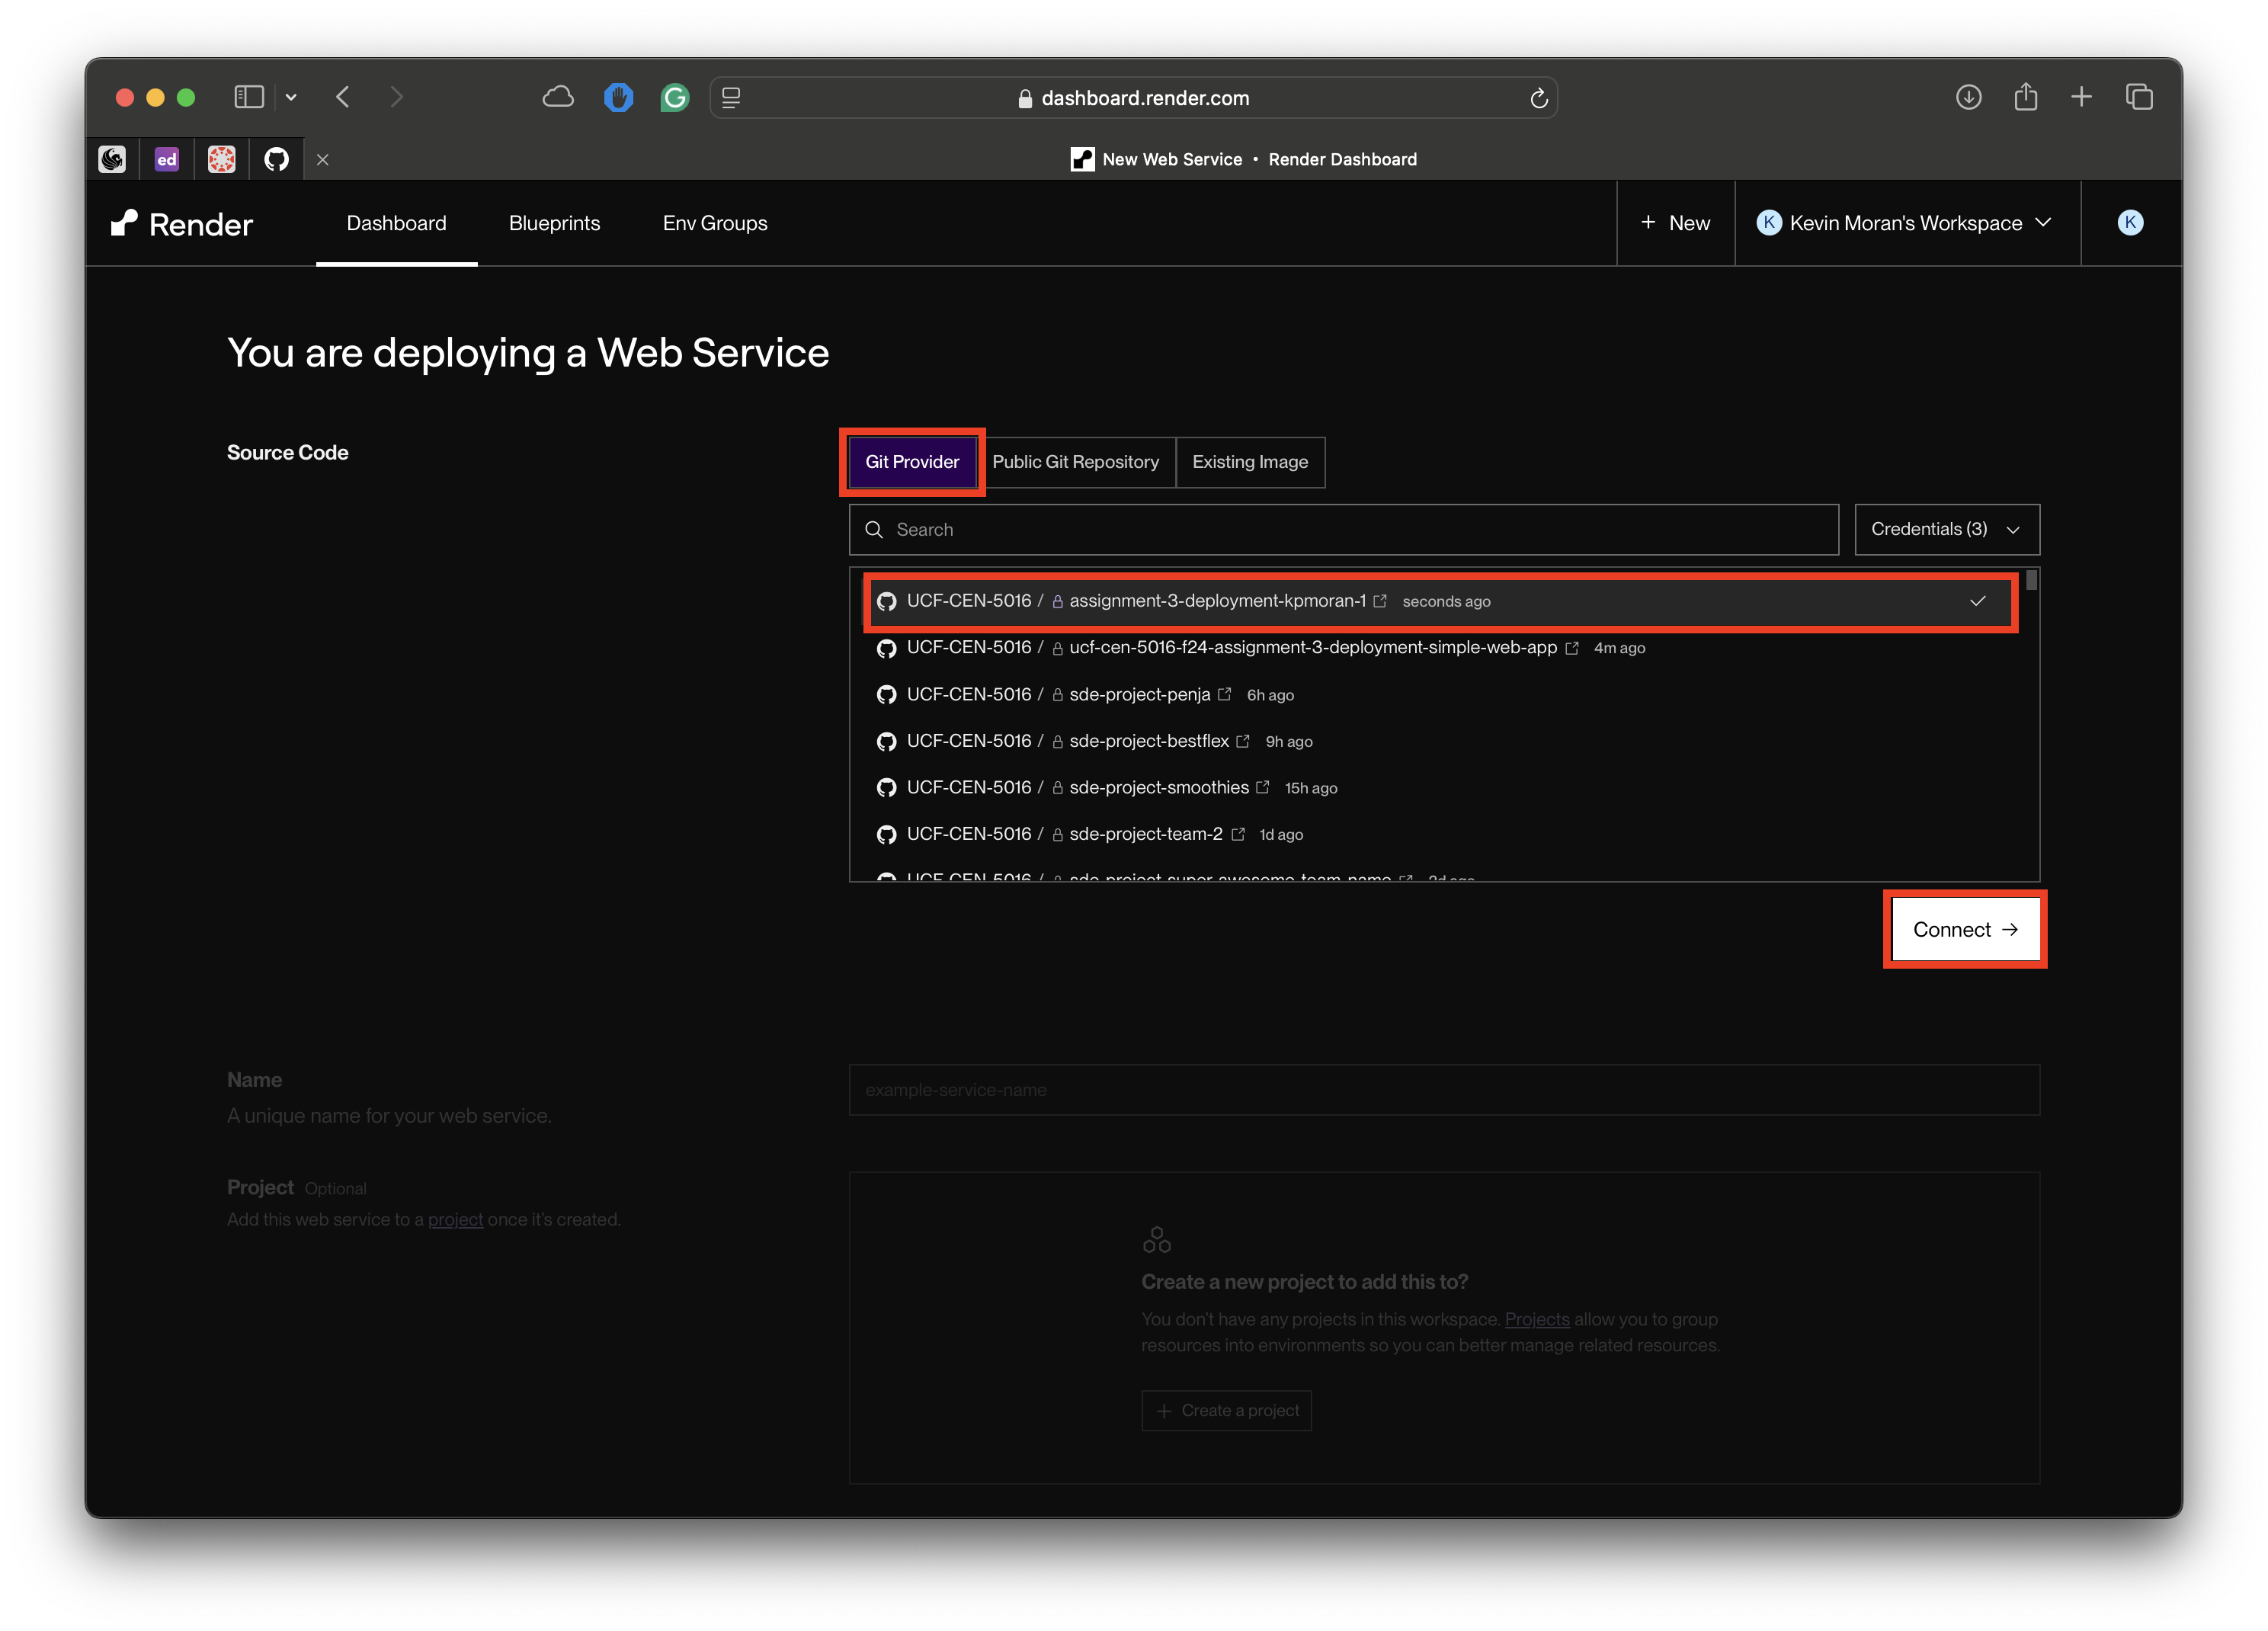
If the Blueprint flow gives you trouble, you can create the service manually instead and end up in the same place. Choose New > Web Service, connect your repository, and set the fields yourself.
Connect your GitHub repository, then pick it from the list and click Connect:
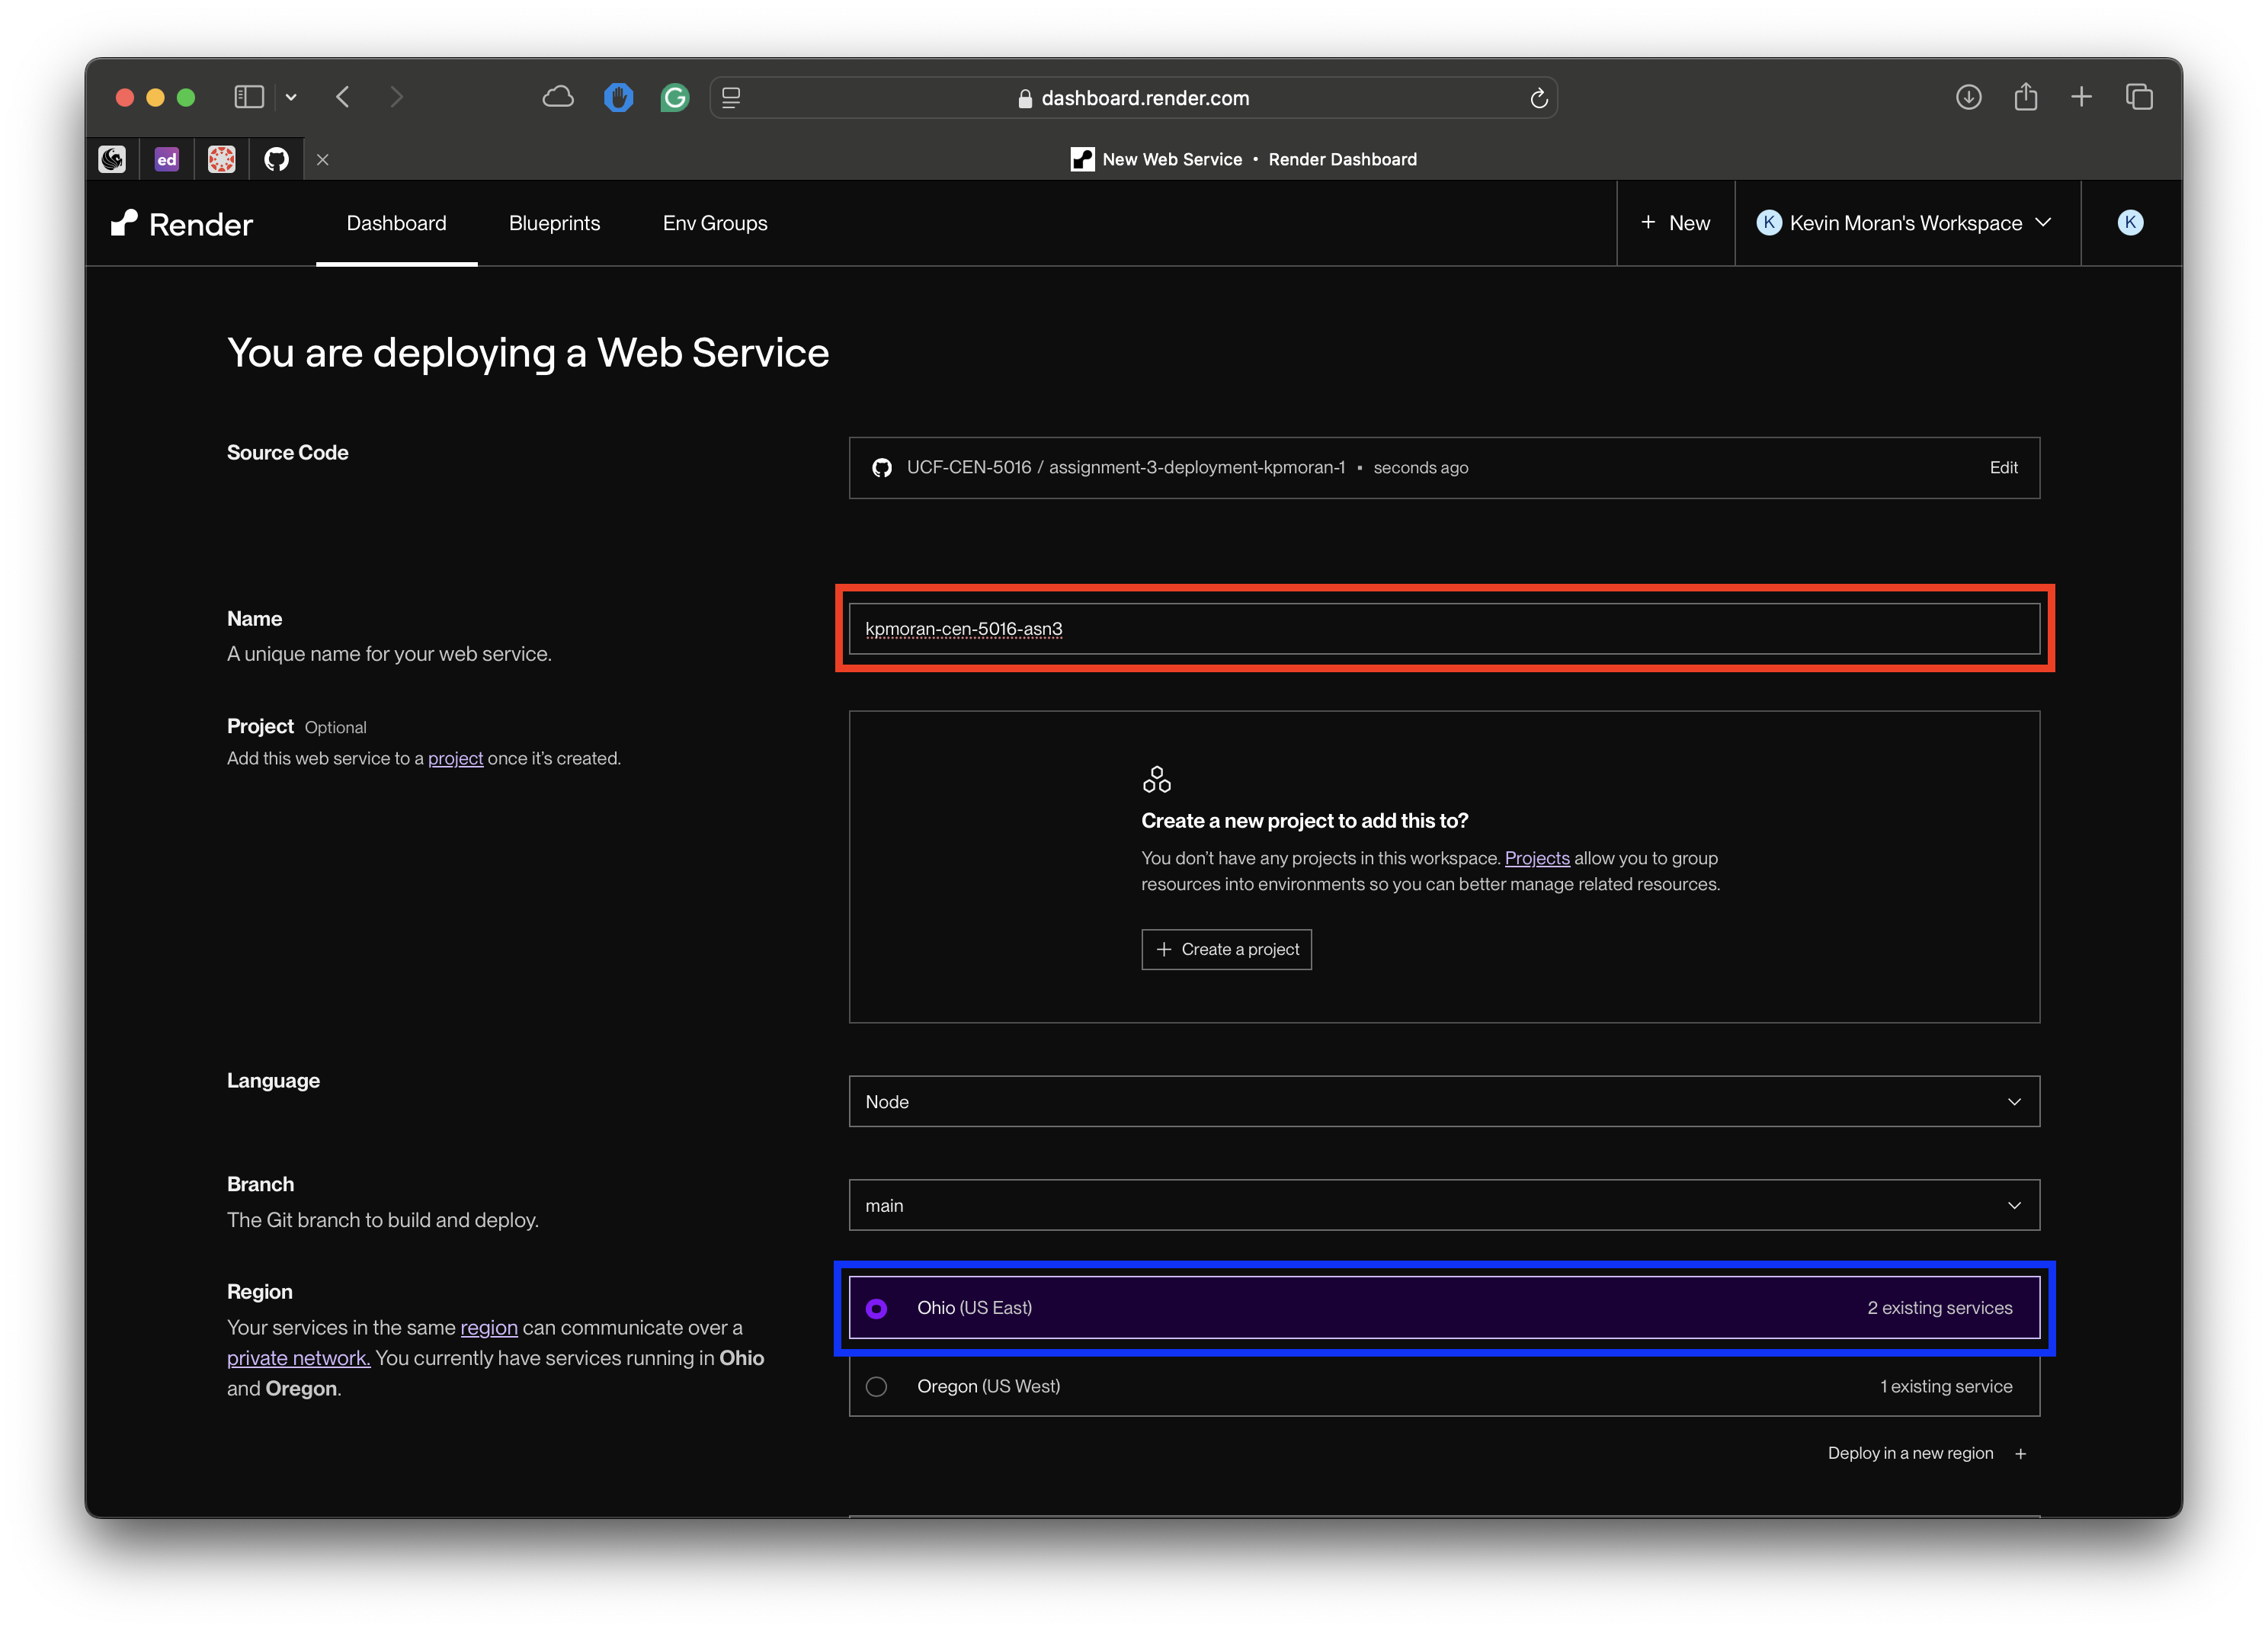
Set the name, pick the region closest to you, and set the build command to
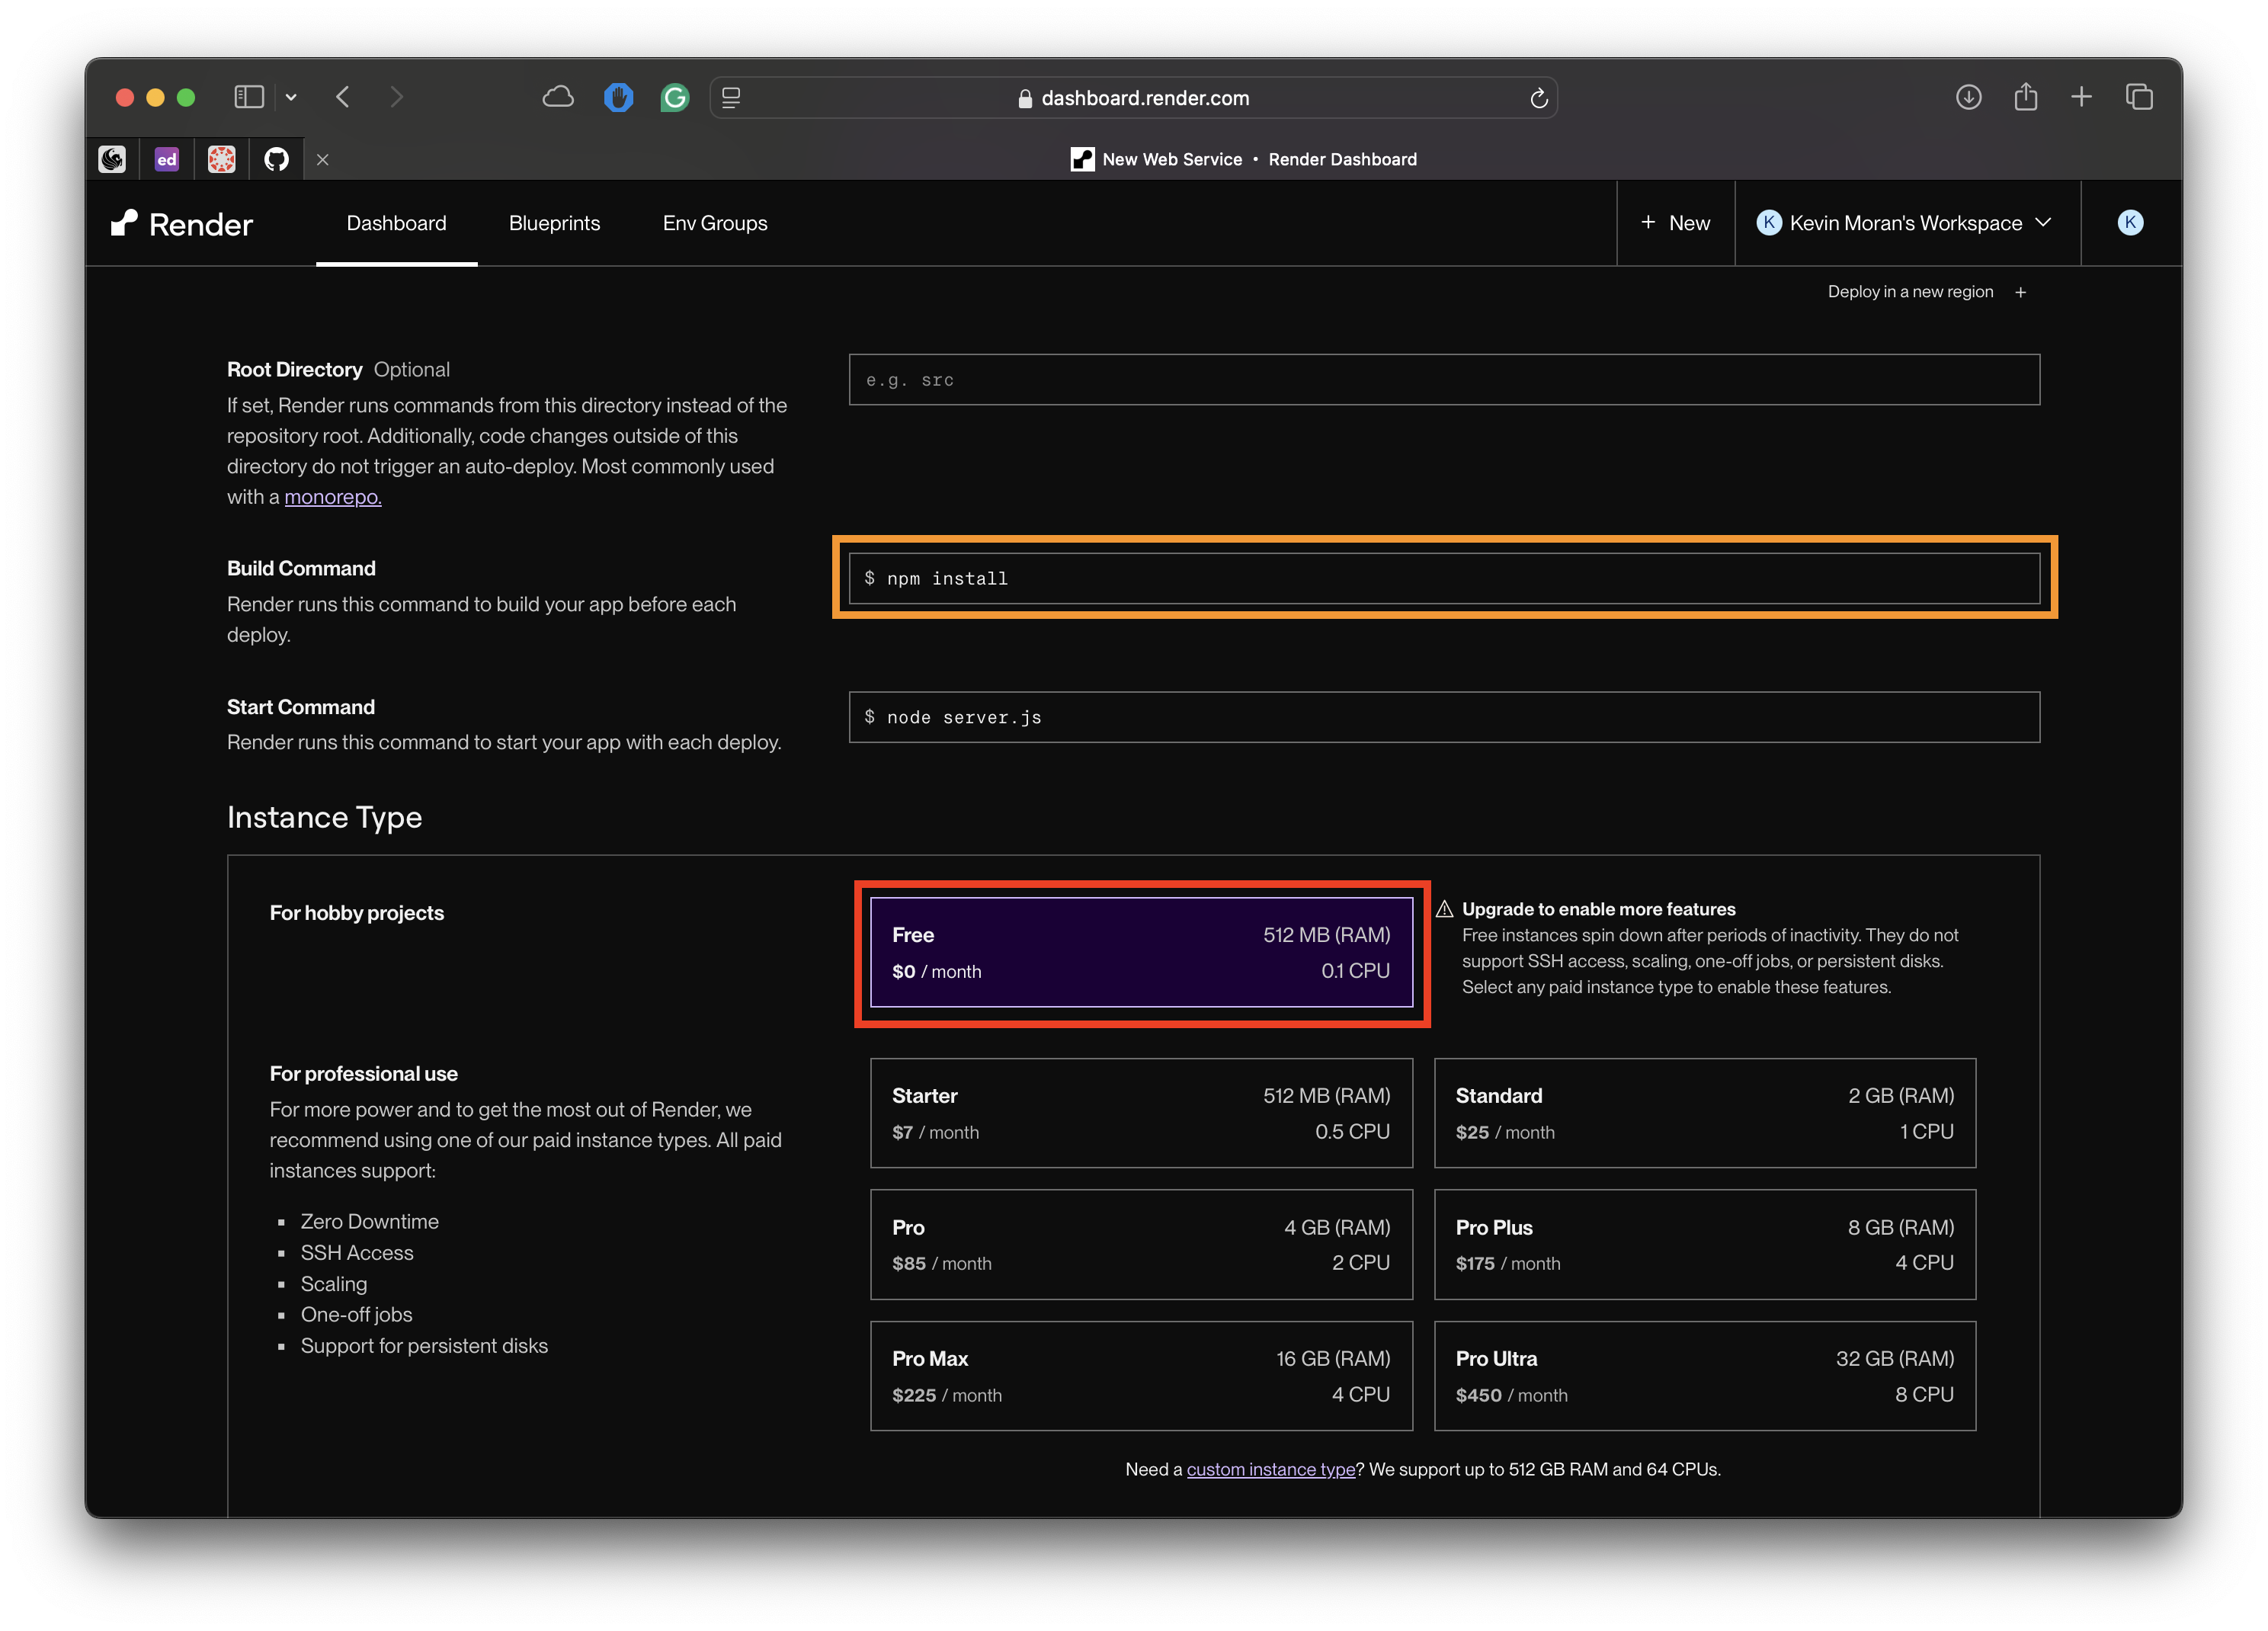
npm ci and the start command to npm start:
Choose the Free instance type, then create the service:
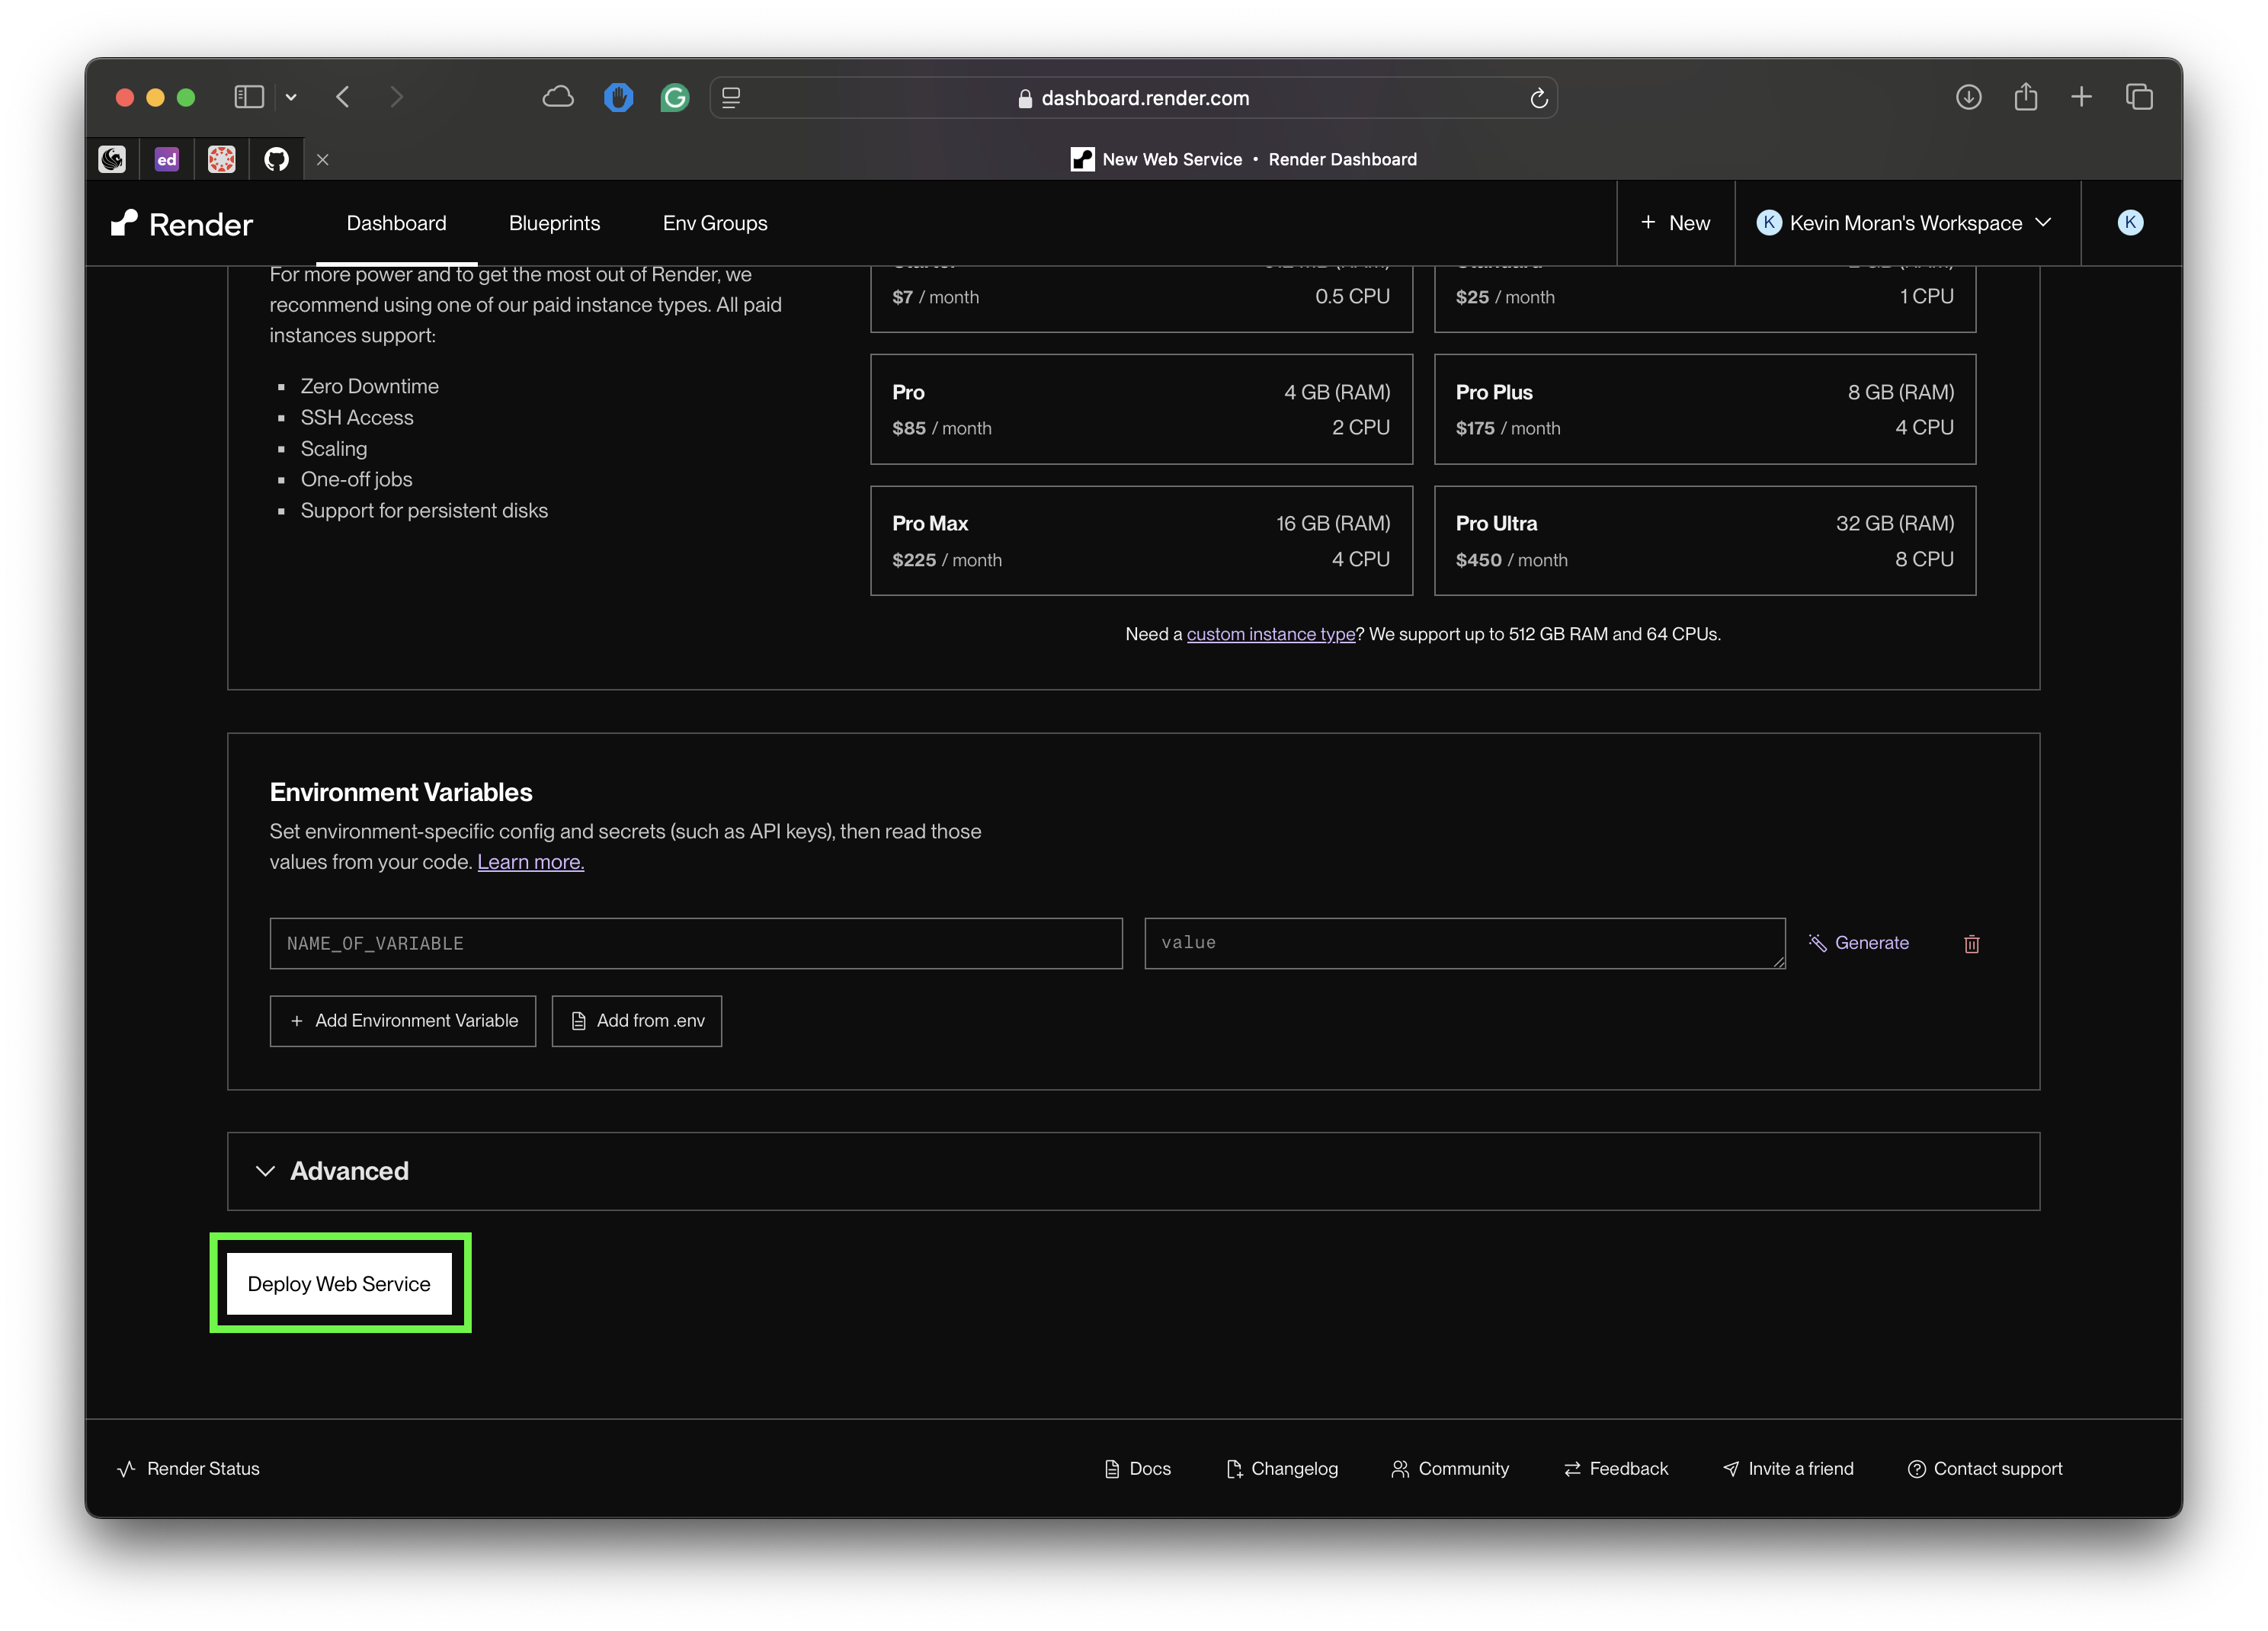
Add a health check path of /healthz and an environment variable
NODE_ENV=production in the service settings afterwards.
Doing it this way works, but notice what you lose: none of those settings are in the repository, so nobody reviewing your code can see them and nothing records why they are what they are. That is the argument for the Blueprint.
Step 5: Make CI gate the deploy
By default Render redeploys on every push to main, whether or not the tests
pass. That is continuous deployment with nothing in front of it, and it means a
broken commit reaches your users at the speed of a git push.
Open your service's Settings page and find Auto-Deploy. It has three options:
| Option | What it does |
|---|---|
| On Commit | Deploy as soon as you push or merge. This is the default |
| After CI Checks Pass | Deploy only once the repository's CI checks are green |
| Off | Never deploy automatically |
Set it to After CI Checks Pass. Render reads GitHub's checks API, which is what your GitHub Actions workflow reports into.
This setting lives in the dashboard rather than in render.yaml - Render's
Blueprint format cannot express it, which is a fair illustration that "as code"
is rarely 100% of the picture.
Now the sequence is: you merge to main → GitHub Actions runs lint and tests →
only if they pass does Render build and deploy. Note that Render watches
main only: a pull-request branch is never deployed, green or not, so a change
reaches your live URL only after it is merged. Part 4 of the assignment has you
break the build on a branch, watch CI stop it at the pull request, and confirm
nothing ships. This setting is the second line of defence behind that check,
for the case where a broken commit reaches main anyway.
Check this setting before you go on
If you skip it, Part 4 will appear to fail: a broken commit will deploy anyway, and the gate you are asked to demonstrate will not exist.
Step 6: Verify the deploy
A build that says "succeeded" tells you the build succeeded. It does not tell you the app is serving. Check that separately - this habit is the entire content of Part 4.
Open https://<your-app>.onrender.com/healthz. You should get something like:
{
  "status": "ok",
  "env": "production",
  "commit": "a1b2c3d4e5f6...",
  "jokes": 10,
  "uptimeSeconds": 12
}
Two fields there matter. env should read production, which tells you
render.yaml was applied. commit is the git commit the running instance was
built from - compare it against the latest commit on main and you have a
definitive answer to "did my deploy actually land, or am I looking at the old
one?"
The repository also ships a smoke test that checks several endpoints at once and exits non-zero if any of them are wrong:
If the app is asleep, the smoke test waits for it to wake - up to three minutes, printing each attempt - before it checks anything, so a cold start does not count as a failure. An app that never comes up still fails.
The free tier sleeps, and it has a monthly budget
A free Render service spins down after 15 minutes without traffic, and waking it takes roughly a minute, during which visitors see a loading page. A slow first response - or a timeout that succeeds when you retry - is the free tier working as designed, not a broken deploy.
A free workspace also gets 750 instance hours a month. One service left to sleep between uses will not come close, so this should not affect you, but it is worth knowing the limit exists before you spin up several.
Working locally from here on
Making changes. Branch, edit, run npm run lint and npm test, commit,
push, open a pull request. Watch the checks on the pull request. Merge when they
are green, and Render will deploy.
git checkout main && git pull origin main
git checkout -b add-category-filter
# ... edit ...
npm run lint && npm test
git add .
git commit -m "Filter random jokes by category"
git push --set-upstream origin add-category-filter
Write commit messages that say what the commit does to the codebase. "Fixed stuff" costs you nothing today and costs whoever reads it later - very possibly you - real time.
Testing endpoints. curl is enough for most things.
Postman is friendlier if you prefer a GUI, and is
worth knowing for requests more complicated than a GET.
Reading a failed CI run. Click the red X on your commit or pull request, open the failing job, and expand the failing step. The assertion that failed is in there along with the file and line. Read it before you change anything - guessing at a fix without reading the error is how a one-line problem becomes an afternoon.
Where to get help
Post on Ed Discussions. Include the exact command you ran, the exact error, and a link to the failing CI run if there is one - it is much faster than a description of the symptom.